Easy DIY Craft: Turn An Old Picture Frame Into The Cutest Key Holder
If you have trouble keeping track of your keys (and who doesn’t), a key holder is a must. But why purchase something generic from a big box store? Here’s a fun and easy way to make your key holder a piece of art. Trust me, your guests will be super impressed when they walk in the front door!
First, here’s a short list of materials you’ll need:
- A picture frame (old or new). A 5×7 frame would be ideal, but 4×6 will also work. For a modern twist we suggest a frame with a funky shape. For a classic look use a rectangular shaped frame.
- A bold paint color.
- A foam brush.
- Three to five screw hooks.
- Ribbon and a hot glue gun (optional).
Here’s how to put your key holder together. You can follow along with this step—by—step video for an example, but be sure to make your key holder your own!
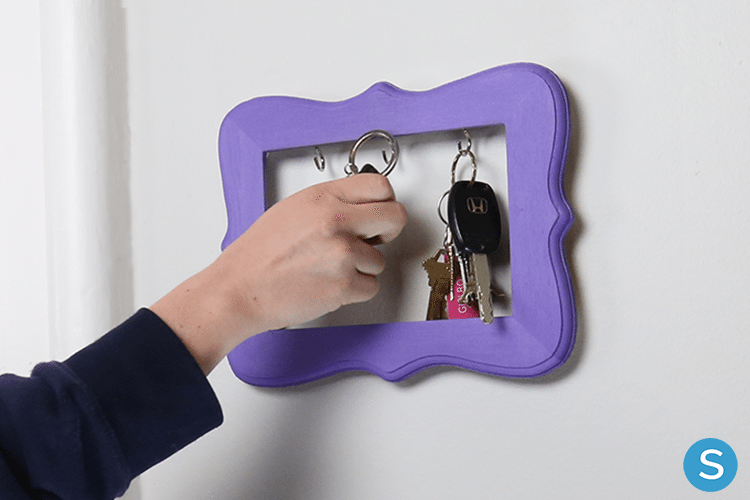
- Remove the back and glass of your frame. Using the foam brush, paint the frame the color or pattern of your choosing (remember to pick something that pops)!
- Once your frame is dry, screw in the hooks about 1 inch away from each other. You can pre—drill the holes before you paint, or screw them in after. Our example shows three hooks, but you can add as many as you like.
- Personalize it! Dress up your key holder by using a hot glue gun to add some ribbon or a bow.
- Lastly, hang your cute new key holder and enjoy!
Weird…all of a sudden you know exactly where to find your keys!