Here’s How You Use A Fork To Hang Pictures And Art Perfectly
It’s always exciting to have a new framed photograph or piece of artwork to hang on your wall.
That excitement can quickly fade, however, once you begin the struggle of actually trying to hang the darn thing. There’s nothing worse than putting up your favorite painting on the wall, only to find that it’s slanted or uneven. No matter how hard we try, that picture always seems to look crooked. Seriously, what’s the deal?
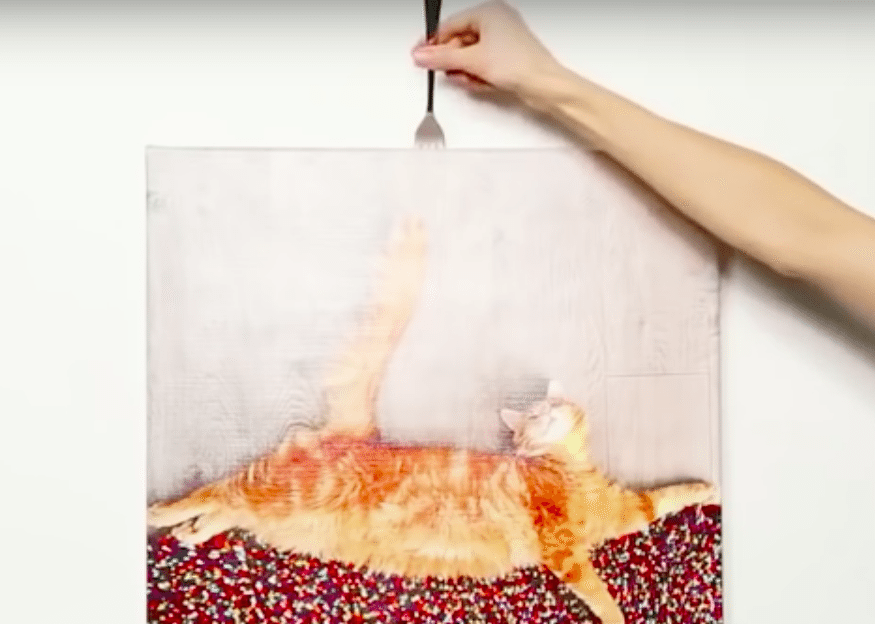
Luckily, we found a nifty way to hang up a picture effortlessly using just a piece of string and a fork—no fancy or expensive gadgets needed.
People all over the internet are loving this simple trick.
And, just in case the fork trick doesn’t get the job done, here are a few other tips for hanging up a picture easily and precisely:
1. Photocopy First
Photocopy the item you’re going to hang so you have the exact dimensions. Then tape to the wall, and drill or hammer your nail in exactly where it’s needed.
2. Use Tape
Use a piece of tape to measure the two holes you will be using to hang the picture, making sure it’s the accurate length. Transfer the tape to the wall where you want to hang your picture, and then drill or hammer at the end of each piece of tape.
3. Create Templates
If you’re using frames, trace them onto a piece of cardboard and cut them out. Use those templates to help you arrange where your photos will go on the wall.
No matter which tip you use, hanging wall art is never as easy as it seems, so it can be very useful to have a few tricks up your sleeve when it comes time to decorate your walls.