How to use your phone to scan documents
- March 5, 2019 |Last updated on 04/02/2020
Hooking up to a scanner to capture documents, photos and other hard copies of important items can be a hassle. Luckily, smartphones seem to do it all these days, including “scanning” items.
If you’re an iPhone user, you don’t even need to use a third-party app to do this, since a 2017 iOS 11 upgrade to the built-in Notes app made it a regular option.
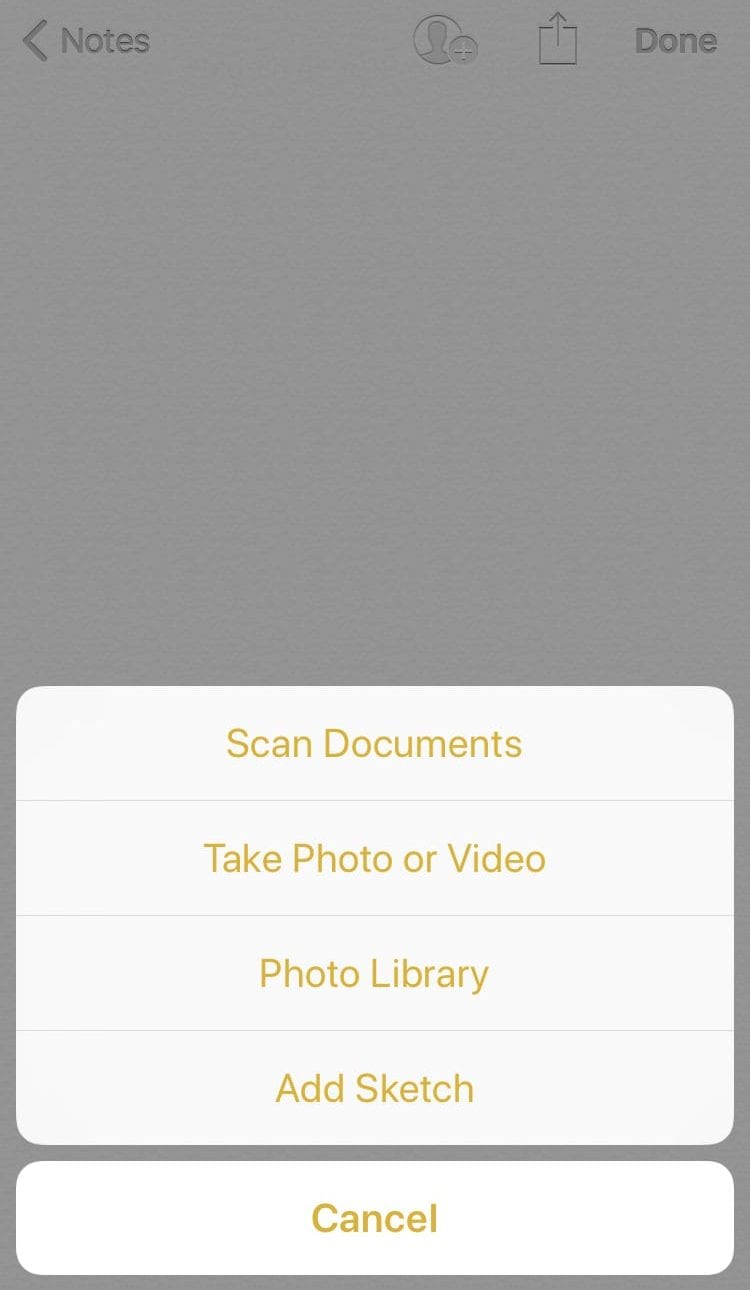
All you have to do is create a new Note and hit the “![]() ” sign option. Then, choose “Scan Documents.”
” sign option. Then, choose “Scan Documents.”
The iPhone camera will auto-detect your document, image, etc. (if you have the auto shutter selected) and snap a scan of it. You can also manually capture the image with the camera button or one of the volume buttons.
Adjust the corners of the scan before saving it. If you want to sign or otherwise mark up the captured image, tap on it, hit the “![]() ” button in the upper right corner and select “Markup.”
” button in the upper right corner and select “Markup.”
But I Have An Android
Android users have several options for smartphone scanning as well.
Using Google Drive, you can quickly take a picture of any item, adjust its cropping, and save and sync it to your drive.
The PhotoScan app is a more sophisticated Google scan app that allows you to use in-app filters to adjust your captured image.
If you want to be able to edit and extract text from a document, you might like the Adobe Scan app. This option is great for creating PDFs and includes text recognition. It also syncs with Adobe Document Cloud.
CamScanner is yet another Android and iPhone scanning app. The free version will do in most situations and you can use it to save both JPEGs and PDFs. There’s a paid version that can also edit and extract text.
If you’re a big Microsoft user, Office Lens saves directly to OneNote or OneDrive.
Have you switched over to using your smartphone as your primary “scanner”?