How to turn your kids’ handprints into a cute DIY keychain
Craft time isn’t just for the kids—but it can certainly be inspired by them! With just a few simple art materials and a colorful imagination, you can spend a fun-for-the-whole-family “crafternoon” making this cute do-it-yourself project with your kids. This handprint keychain craft creates an adorable display of your little one’s handprints that you will find yourself using in everyday life for years to come.
When you round up the materials, don’t forget Shrinky Dinks plastic, gloss finish acrylic paint, 10-milimeter jump rings, split ring key ring and gloss mod podge. (You probably already have the rest of the materials you need lying around your house!) As far as which colors to use—feel free to be creative! If you’ll be using the keychain, you can choose to use your own favorite color combinations or you can leave the color selection to your kids.
Note: It is important to make sure that the acrylic paint you are using has a gloss finish—any other type of paint won’t stick to the plastic, which means your craft day will yield nothing more than a colorful mess complete with painted hands!
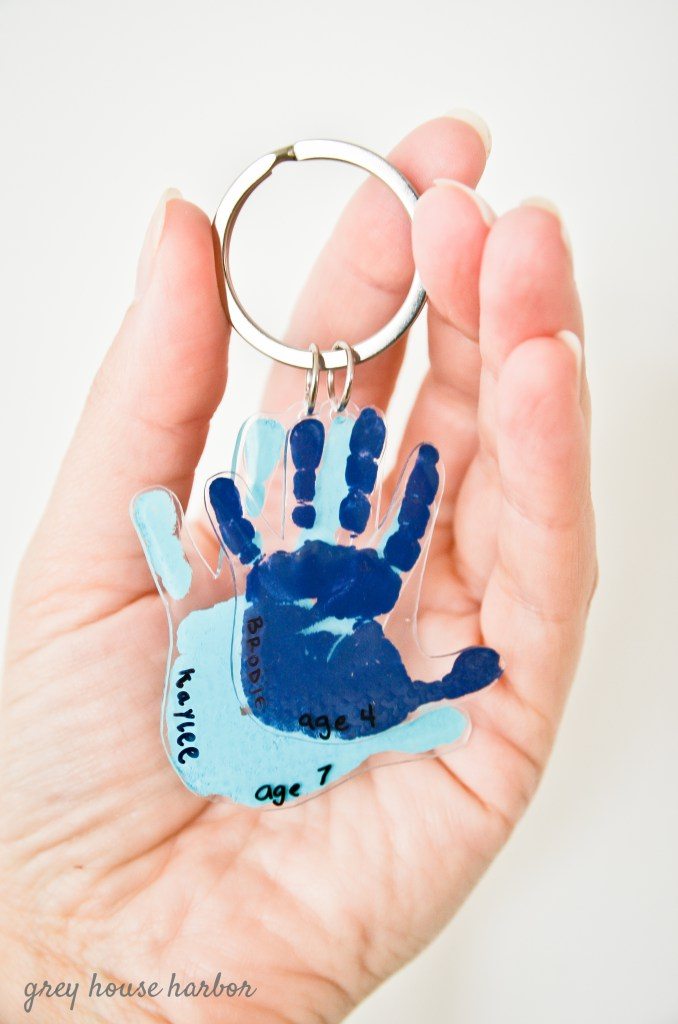
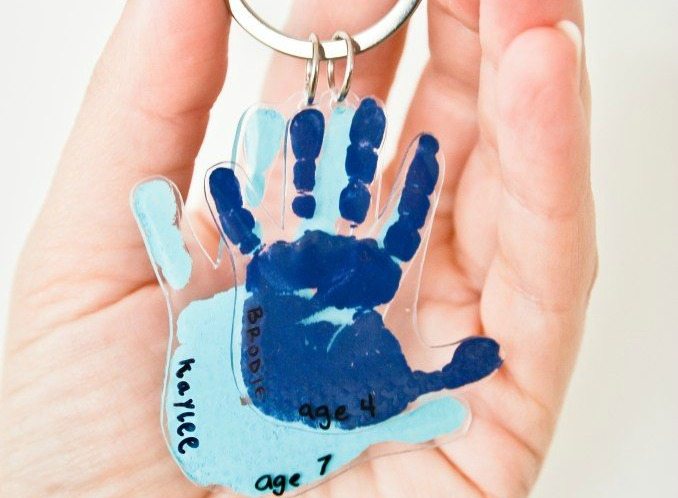
Once you gather all of the materials, all you have to do is paint your child’s entire hand in the decided color (or colors!) and then help them press down their fingers on the Shrinky Dinks plastic to ensure that you get good handprints. Then wait for the paint to dry completely before adding your child’s name and age on the back of the handprints—if they are old enough to write it themselves, let them! You will be glad you did when you look back on the project in a few years.
Then use a hole punch to add a hole to the handprint for the keyring and cut around the handprints in the plastic. Finally, bake it in a 325-degree oven for about 2 to 3 minutes. When it cools, add the tiny handprints to your key ring.
For more detailed tips and directions on how to make these adorable DIY handprint keychains, check out this post from Grey House Harbor.
Related posts