How to do a DIY pedicure at home
The products and services mentioned below were selected independent of sales and advertising. However, Simplemost may receive a small commission from the purchase of any products or services through an affiliate link to the retailer's website.
Mastering DIY pedicures ensures you’ll never have to worry about your chipped toenails making a public appearance. In fact, maintaining your feet can be as effective as heading to the salon if you have the right tools. Bi-weekly visits to your favorite nail tech can become costly, but with the right products and expert guidance, an at-home pedicure can make self-care time feel like a day at the spa.
Whether you’re looking for a simple and easy way to maintain your feet without breaking the bank or desire the full nail salon experience from the comfort of your home, we have you covered. Roxe, nail architect and owner of Nails by Roxe, and Ms. Kreative Kay, nail technician and owner of The Nail Studio by Ms. Kreative Kay, offer insight on perfecting your DIY pedicure.
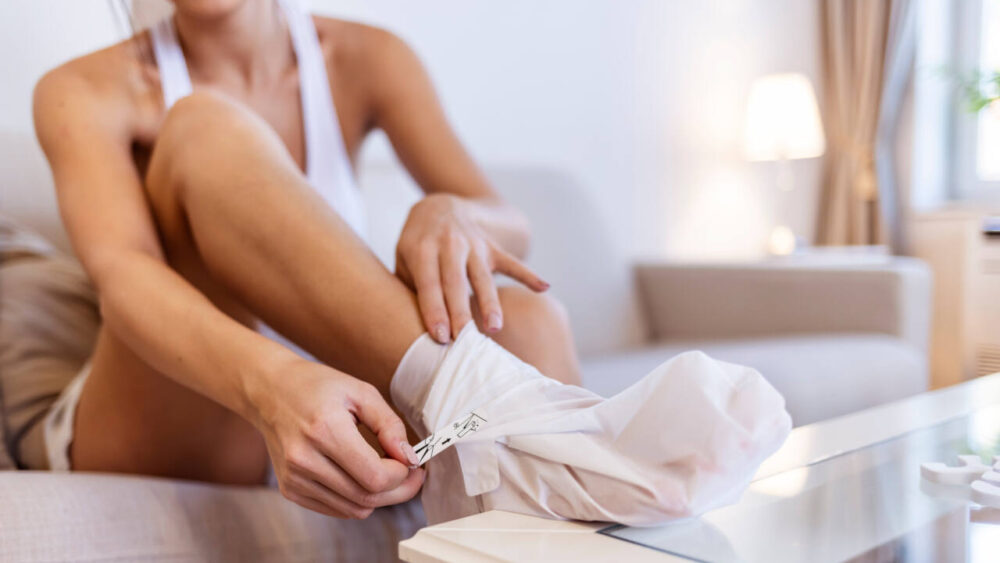
Remove Your Nail Polish
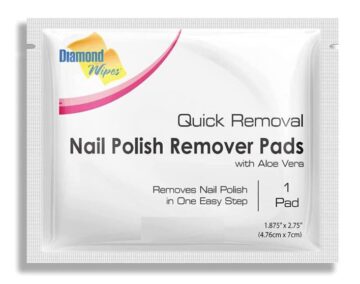
Start your DIY pedicure by grabbing a couple of cotton swabs and your favorite nail polish remover. If you’ve fallen victim to glittery or extra-thick polish, opt for an acetone nail polish remover for a quicker, more seamless process. Non-acetone works as well, but it’ll take longer on more stubborn polishes.
MORE: 9 simple tricks to make painting your nails easier than ever before
“Remove your current polish using any acetone or non-acetone polish remover to remove dirt and other debris from your natural nail surface,” says Roxe.
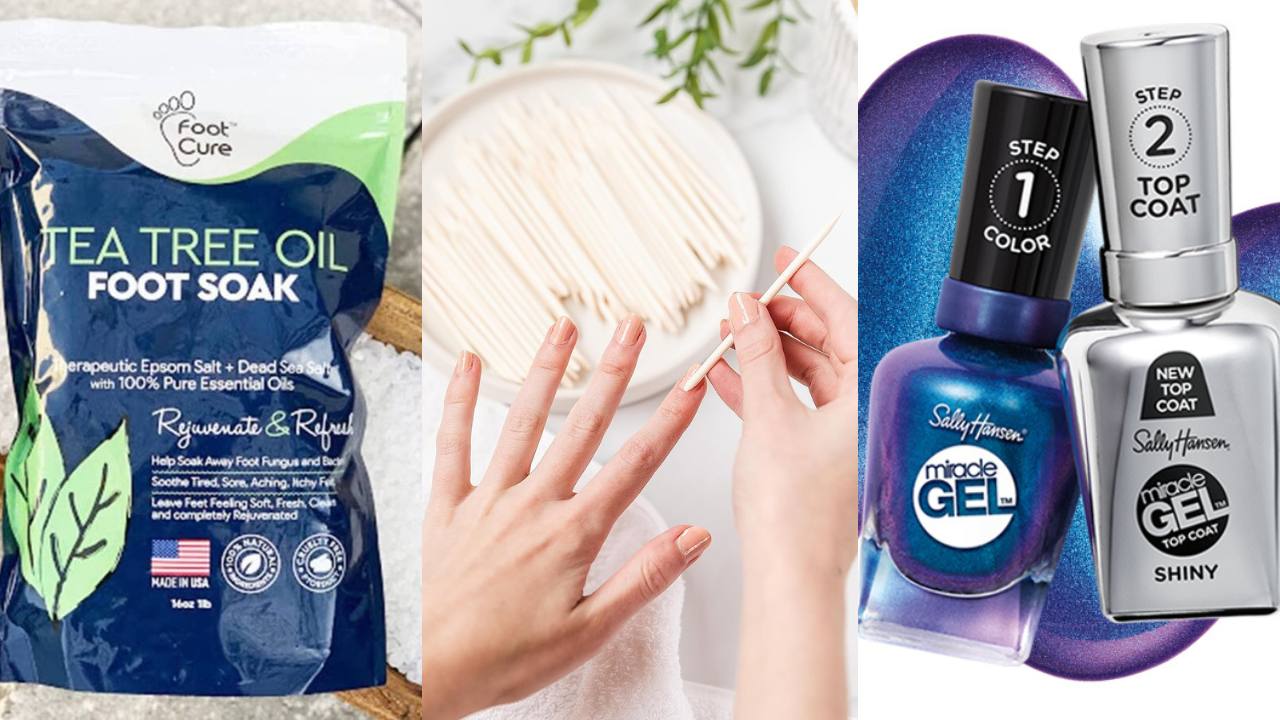
Soak Your Feet
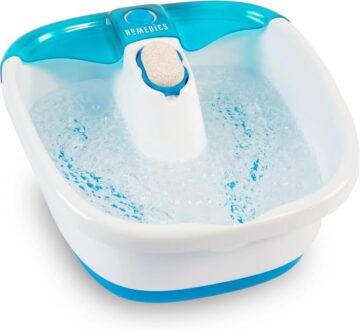
Once you’ve removed your nail polish, submerge your feet in a tub of water for a few minutes.
“Doing so for anywhere from 3 to 5 minutes allows you to relax and enjoy a little self-care while allowing your skin to naturally soften itself by absorbing the water. This allows for easier removal of dirt and debris from the nails’ surface,” says Roxe. “Adding Epsom salt and essential oils allows for a more relaxing oasis of self-care.”
“Soaking your feet is important because it softens the skin and loosens the cuticles, which are addressed during the pedicure,” says Kreative Kay. “Use a pedicure bowl or a small basin, and adjust the temperature to your liking.”
Clip Your Toenails
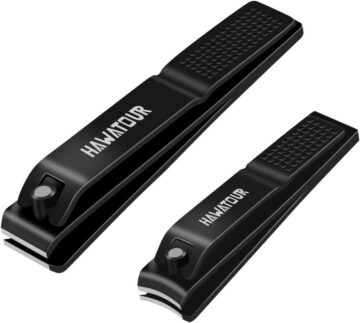
Once you’re done, pull out your favorite nail clipper. Cutting your toenails is an important step in the at-home pedicure process. Not only are you clipping them to your desired length, but you’re also examining each nail to ensure they’re free of polish.
“Using your nail clipper, remove dirt and other debris from your natural nail surface. Then, carefully clip away the free edge of your toenail to your desired length,” Roxe advises.
File Your Toenails Down
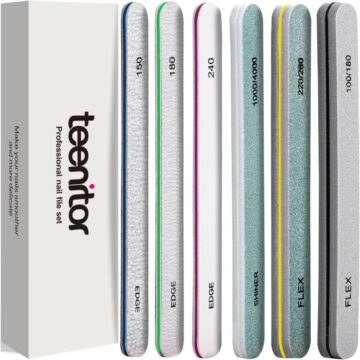
Cutting the nails down is the first step to creating your desired shape. A nail file will help smooth the edges, creating an even and uniform look.
“Using your nail file, gently etch the free edge of your toenail to your desired shape,” Roxe suggests.
It’s up to you to find the right nail shape but keep in mind the way you cut your nails is the way they’ll eventually grow out.
“If you cut your nails in a round shape, they’ll grow out round. If you prefer something square, cut the nails and slightly file them around the edges,” says Kreative Kay.
Push your cuticles back
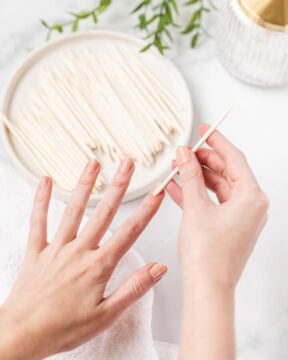
Pushing back the cuticles elongates the nail plate and creates a clean surface area for polish application. Some people prefer not to disturb their cuticles during a pedicure, opting to gently push them back instead of cutting them. We don’t recommend trimming the nail root because it welcomes infections and looming bacteria, but if you prefer the full salon look, do a light push followed by a gentle cut.
“Using an orange wood stick or metal/ceramic cuticle pusher, gently push back the live skin from the surface of the natural nail plate, allowing it to be elevated in the event of removal. This step is crucial for polish application,” Roxe says.
“Apply a few drops of cuticle oil to your fingers to nourish the nails,” adds Kreative Kay.
Clean the surface of your nails
By now, you’ve accumulated debris from filing your nails. In order to execute a near-perfect paint job, wash your hands and prepare the nails to be polished.
Kreative Kay says it’s important to make sure the nail bed is completely dry before you apply polish. “Adding polish to an oily base is like combining oil and vinegar. The polish won’t settle on the nails properly. Remove remaining oils with an alcohol pad,” she suggests.
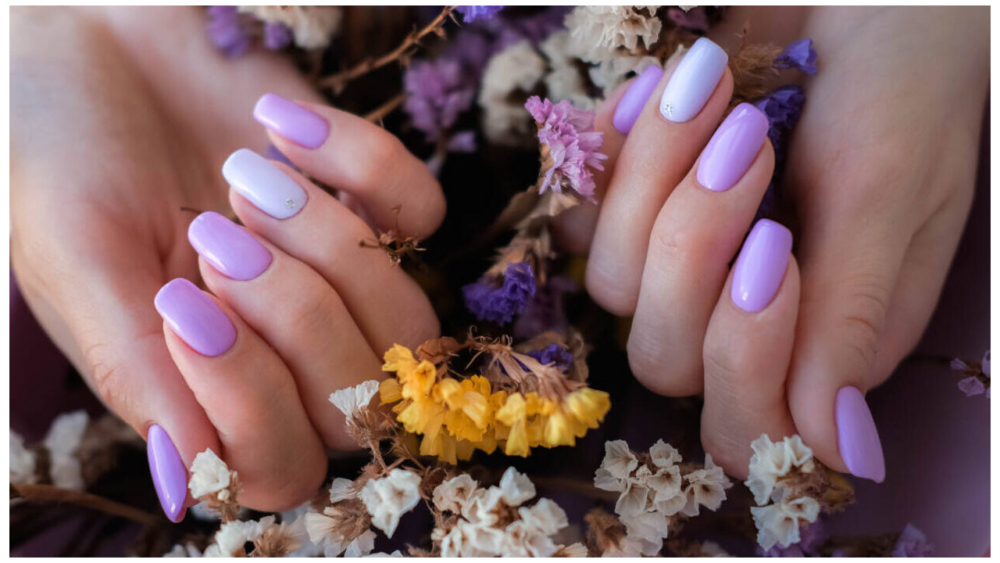
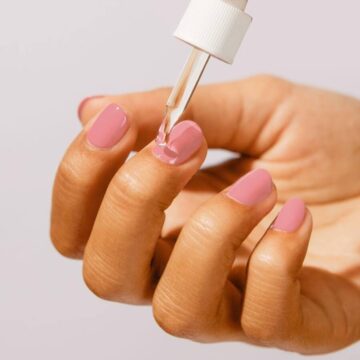
Apply your polish
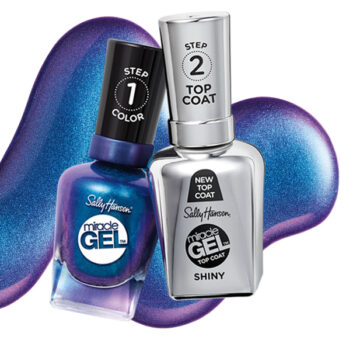
Before you find your desired nail color, it is important to assess what kind of pedicure you want to do. There are lots of polishes on the market, including ones that create a gel finish. For this tutorial, we suggest using a gel polish and top coat that doesn’t require a UV or LED light.
“Apply the base coat and let it cure (dry) before adding your first coat of polish. Apply two coats of polish and let it cure. Apply a top coat and let it dry. Please be sure to read the labeling on your bottles prior to application to ensure that you have the proper materials/tools needed to cure your polish correctly,” says Roxe.
“Adding a base coat is important because it prevents the polish from staining the toenails,” Kreative Kay adds. “When polishing, start from the left pinky toe and work your way up to the big toe. Then do the same on the other foot, starting from the pinky toe to the big toe.”
Add cuticle oil to your nails
Once your nails are completely dried, add a few drops of cuticle oil. “This nourishes the nails and makes them look very pretty,” Roxe says.
Related posts